How to Make a Proofing Box for Bread: Homemade Method, Temperature and Humidity
Updated: Nov 15, 2024
A simple proofing box can reduce drafts and temperature swings for small bread batches. The safest homemade method uses a clean food-safe container, a separate thermometer, a covered dough container, and a mild non-electrical warmth or humidity source that can be monitored.
This guide explains how to make a proofing box for bread, establish recipe-specific starting conditions, recognize condensation and overheating, judge dough readiness, and decide when commercial equipment is required.

How to Make a Proofing Box for Bread: Why Controlled Proofing Helps

Bread dough proofing
A proofing box can make the environment more repeatable, but it does not correct inactive yeast, poor mixing, incorrect dough temperature, weak gluten development, or an unsuitable formula.
Safe Homemade Method and Setup
Building a bread-proofing box at home is surprisingly easy and requires just a few basic materials. Here’s what you’ll need and how to set it up:
Gather Food-Safe Materials
The materials you need are simple and probably already lying around your home. Here's a list:
Container: Use a clean, intact, food-safe container large enough for the covered dough and thermometer. Avoid absorbent cardboard in a humid setup and keep all materials away from open heat or flame.
Thermometer: Use a suitable thermometer that can be read without contacting the dough. Check it against another trusted instrument periodically if accuracy matters.
Humidity source: Use a stable container of warm water only when additional humidity is needed. Place it so it cannot spill onto dough, people, or electrical equipment.
Insulation: If needed, wrap the outside with a clean dry towel while keeping ventilation and monitoring visible. Never place fabric against a heater, hot surface, light bulb, or open flame.
Clean and Prepare the Container
Wash, rinse, and dry reusable surfaces before setup. Keep the dough in its own food-safe covered container and leave enough space for expansion without contacting the outer box.
Monitor Temperature Safely
Temperature is recipe-dependent. Use the formula or bakery SOP as the starting target, measure actual dough and box conditions, and avoid treating one general range as correct for every lean, enriched, frozen, or sourdough product.
If the box warms beyond the approved range, remove the warmth source and move it to a stable room-temperature location. Do not use a space heater, open flame, unprotected bulb, or improvised electrical device in or beside a humid container.
Manage Humidity Without Standing Water
Humidity should prevent surface drying without creating standing water or dripping condensation. Keep water separate from the dough and all electrical equipment, and use the dough cover as the primary surface-protection method.
Condensation signals that the air, surfaces, and dough are out of balance. Remove pooled water with a clean food-safe method, reduce the humidity source, and review temperature before reloading.
Load and Cover the Dough
Place the dough in a clean, food-safe covered container with room to expand. Avoid a wet cloth touching the dough unless it is part of a documented sanitation procedure.
Proofing time varies with formula, yeast level, dough temperature, piece size, and target product. Judge readiness using the recipe’s product-specific standard rather than a universal one- or two-hour clock.
Benefits, Limits, and Suitable Batch Size
Investing a little time into creating a homemade proofing box brings a host of benefits to your bread-making routine. Here’s why it’s worth it:
Cost and capability: A homemade box can support small tests, but it does not provide the controls, cleanability, capacity, documentation, or serviceability of commercial equipment.
Adjustability: Change one condition at a time and record it. A homemade box offers limited control, so verify temperature, condensation, and dough readiness instead of assuming the set environment is uniform.
Convenience: Once it’s set up, your proofing box is ready whenever you need it. No more searching for the perfect spot in your kitchen or worrying about temperature fluctuations.
Portable: If you’re baking in different locations, a homemade proofing box is lightweight and easy to move, unlike bulky commercial units.
A homemade setup is best limited to small, supervised trials. Commercial bakeries must verify local food-safety, sanitation, electrical, fire, and workplace requirements before using any improvised proofing enclosure.
Temperature, Humidity, and Condensation Checks
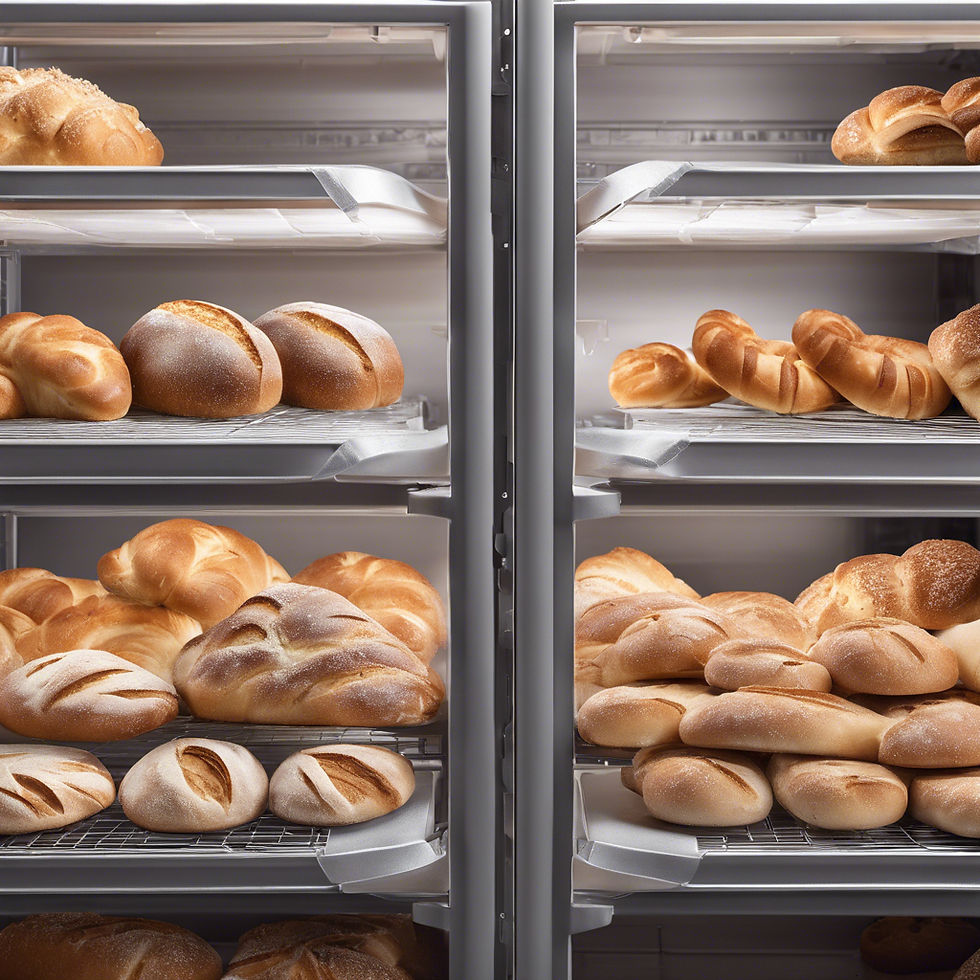
Commercial bread proofer
Correct Temperature Fluctuations
If the temperature in your box is too high or too low, it can affect the rise of your dough. A few solutions:
Too Hot: Move the box to a cooler area or open the lid slightly to let some heat escape.
Too cool: Move the box to a more stable room-temperature location or replace the warm-water source. Do not introduce an improvised electrical heater into a humid enclosure.
Control Excess Moisture and Condensation
If you notice too much moisture building up inside the box, this can lead to soggy dough or uneven rising. To combat this:
Use adjustable ventilation only if the container can remain clean and protected. Reduce the moisture source first and prevent condensation from dripping onto the dough.
Wipe away any condensation with a towel to prevent it from affecting the dough.
Improve Uneven Rising
Check temperature at more than one location and avoid overloading the container. Reposition covered dough containers only through a clean, consistent procedure.
Common Dough Problems and Corrections
Despite your best efforts, bread baking can sometimes be unpredictable. Here are some common proofing problems you might encounter and how to solve them:
Diagnose Weak Dough Rise
If your dough isn’t rising as expected, it could be due to several factors:
Inactive Yeast: If the yeast is expired or inactive, your dough won’t rise properly. Always check the expiration date and store yeast in a cool, dry place.
Use the recipe-specific target and confirm actual dough condition. If activity is weak, review yeast, dough temperature, formula, mixing, and proofing conditions together.
Use the product’s approved readiness criteria. Doubling in size is not appropriate for every bread style and clock time alone cannot distinguish under- from over-proofing.
Solution: Check your yeast’s freshness, keep an eye on the temperature, and set a timer to ensure you’re not under or over-proofing your dough.
Diagnose Sticky or Dry Dough
Sometimes your dough can turn out too sticky or too dry, and it’s frustrating when that happens. If your dough is too dry, it won’t rise well and may be difficult to shape. On the other hand, overly sticky dough can be hard to handle.
Do not correct a mixed batch by adding flour or water automatically. First verify scaling, formula, dough temperature, mixing, rest, and handling; record any approved correction for the next batch.
Prevent Condensation on Dough
While a bit of moisture is necessary to keep the dough from drying out, too much can lead to wet, sticky dough. Excess moisture inside the box can also cause your dough to become soggy.
Solution: Wipe down the inside of the box regularly and ensure there’s proper airflow. Using a bowl of water for humidity is effective, but make sure it doesn’t cause excess condensation.
When Homemade Capacity Stops Scaling
A homemade proofing box is not a substitute for validated commercial production equipment. As batch count grows, evaluate capacity, sanitation, temperature recovery, labor, utilities, records, and local compliance.
Throughput: More dough increases heat and moisture load. Run a supervised capacity test and stop scaling when conditions or food-safety controls cannot remain consistent.
A homemade box cannot be assumed to match a dedicated proofer. Compare measured stability, usable capacity, cleanability, repeatability, and operator workload before scaling.
Space-Saving: Unlike bulky commercial proofing cabinets, a homemade proofing box can fit easily into any corner of your bakery or kitchen, maximizing your workspace.
If you're serious about taking your baking to the next level, pairing your homemade proofing box with commercial-grade bakery equipment, such as dough mixers, sheeters, and ovens, can dramatically streamline your operations and improve consistency. These tools are designed for efficiency, precision, and high-volume production, perfect for bakeries, pizza chains, cafés, and even beverage stores.
Transitioning to Commercial Proofing Equipment
While a homemade proofing box helps create the right environment for your dough to rise, commercial baking equipment provides the necessary support for other stages of the baking process. Here's how:
Coordinate Mixing Before Proofing
A dough mixer is an essential tool for any bakery that produces large quantities of dough. Hand mixing can be tiring and inconsistent, especially when you're scaling up. A commercial dough mixer provides precision, ensuring your dough is mixed evenly and consistently every time.
By using a dough mixer, you can achieve a consistent dough texture, which is crucial for uniform proofing. This complements your proofing box by ensuring that the dough starts off on the right foot.
Pro Tip: When using a dough mixer, always follow your recipe's instructions carefully to ensure the dough is mixed at the right speed and for the appropriate time. Over-mixing or under-mixing can lead to undesirable textures or even impact how well the dough rises in the proofing box.
Coordinate Sheeting and Dough Rest
For bakeries that produce large quantities of flatbreads, pastries, or pizza dough, a dough sheeter can speed up your prep time and improve consistency. Sheeters roll out dough to a uniform thickness, which is especially helpful when you need even dough for baking. The evenness of your dough is crucial to ensure proper rising and baking.
By using a dough sheeter, your dough will have a consistent thickness, which results in uniform baking and more predictable outcomes, especially when proofing in your box.
Pro Tip: When using a dough sheeter, it's important to ensure the dough is appropriately rested before sheeting. If the dough has been resting for a while in your proofing box, it’ll be easier to sheet without causing tears or uneven spots.
Coordinate Oven Capacity
Once your dough has been proofed and shaped, it’s time to bake. A commercial oven, whether it’s a deck oven, convection oven, or even a pizza oven, will give your dough the final push it needs to become the perfect loaf or pizza crust.
Deck ovens: Ideal for traditional loaves, these ovens provide consistent heat and allow for the bread to bake evenly. Pairing your proofing box with a deck oven ensures that your dough gets the rise it needs before baking and the final crispiness once it’s in the oven.
Convection ovens: These are perfect for evenly baking multiple batches of smaller loaves or pastries. They circulate hot air around the dough, resulting in consistent browning and texture.
Pizza ovens: If you’re in the pizza business, pairing a proofing box with a pizza oven can significantly improve the quality of your pizza crust. The box ensures your dough rises perfectly, and the pizza oven bakes it to a crispy finish.
Pro Tip: Invest in an oven with precise temperature controls. Consistent heat is crucial for properly baked goods, and a high-quality oven can make all the difference in achieving the ideal texture and flavor.
Repeatable Production Workflow and Records
If you're running a bakery, pizza chain, café, or beverage store, maximizing both efficiency and product quality is key. By pairing your proofing box with the right commercial bakery equipment, you ensure that every step of your bread-making process, from mixing to proofing to baking, is optimized for the best possible results.
Standardize Batch Conditions
Using equipment like dough mixers, sheeters, and commercial ovens ensures that every batch of dough is treated the same way. This consistency is critical in high-volume production, where you need uniformity across hundreds or thousands of loaves or pizzas. By having a reliable process in place, you can eliminate the guesswork and focus on perfecting other aspects of your baking.
Evaluate Labor and Throughput
Commercial equipment, like a dough mixer or sheeter, helps increase the speed of your production process, allowing you to bake larger quantities in less time. When you combine this with a proofing box that optimizes dough rising, you’re not only improving the quality of your product, but also your overall productivity. This means you can handle higher order volumes, making your bakery more profitable and able to scale up without sacrificing quality.
Define Objective Quality Checks
The end goal of any bakery is to create high-quality products that customers will return for. By investing in both a proofing box and commercial-grade equipment, you ensure that every loaf, pizza, or pastry meets the high standards of your customers. From consistent texture to flavor, these tools help you achieve the perfect balance of art and science in baking.
Final Safety and Readiness Checklist
Whether you're a home baker looking to improve your results or a business owner aiming to scale operations, combining your homemade proofing box with commercial-grade bakery equipment is a game changer. The proofing box gives you control over the dough-rising process, while the mixers, sheeters, and ovens ensure that the rest of the process, from preparation to baking, is equally efficient and consistent.
For bakeries, pizza chains, and other businesses looking to scale up their operations, this combination of homemade and commercial equipment delivers the best of both worlds: affordable solutions with professional results.
Refrigerated dough proofer