Bread Dough Proofing: Time, Temperature, Humidity and Commercial Bakery Techniques
Bread Dough Proofing Equipment and Production Planning

The baking industry is evolving quickly, and to keep up with rising demand and customer expectations, bakeries need reliable commercial equipment that balances efficiency and quality. The right bakery machines can improve consistency, speed up production, and maintain the artisanal touch customers love. Whether you own a boutique café or manage a high-capacity industrial bakery, the equipment you choose plays a pivotal role in determining your success.
Commercial bread proofer buying guide

Traditional Room Conditions vs Commercial Proofers
When it comes to proofing dough, bakeries often find themselves balancing tradition and efficiency. Let’s take a closer look at these methods.
Proofing at Room Temperature
Traditional proofing allows dough to rise naturally at room temperature, a method cherished for its simplicity and flavour enhancement.
Why Bakers Love It: The gradual rise helps create complex flavours and an airy crumb.
Challenges: Room temperature proofing is highly sensitive to environmental changes. Dough proofed in a hot, humid kitchen can over-rise, while colder spaces can slow fermentation.
Homemade bread proofing box guide
Proofing in a Commercial Proofer
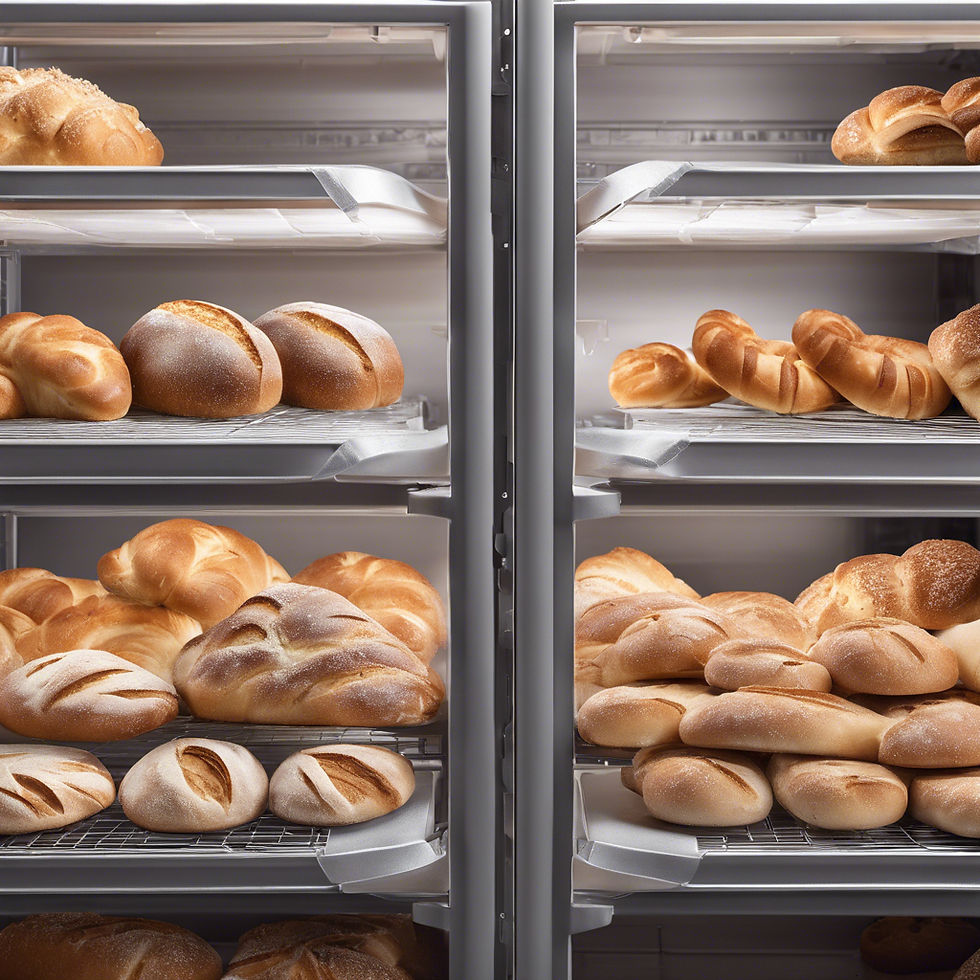
Modern proofing relies on precision machines that maintain optimal temperature and humidity.
The Benefits:
Consistent proofing conditions, regardless of ambient weather.
May reduce scheduling variability and waiting time when the selected settings match the dough formula and batch size.
High-volume proofing to meet growing demand.
Controlled temperature and humidity reduce one source of variation, but operators still need to verify dough temperature, fermentation activity, loading, and readiness.
Pro Tip: Enriched doughs like brioche require higher humidity settings to maintain their moisture and soft texture.
Proofer Features and Controls
A commercial dough proofer creates the ideal environment for proofing dough, making it essential for bakeries that value efficiency and consistency.
Proofing Temperature Control
A common starting range is 75°F to 85°F (24°C to 29°C), but the correct setpoint depends on yeast level, dough temperature, formula, desired flavor, and production schedule.
Why It Matters: Accurate temperatures prevent dough from rising too quickly or too slowly, which helps achieve an even crumb.
Proofing Humidity Control
Humidity prevents the dough from forming a dry crust during proofing.
Starting point: Many bread formulas are tested around 75% to 85% relative humidity, but operators should adjust to prevent skinning or condensation and follow the recipe specification.
Benefit: Retains moisture, resulting in elastic dough that bakes beautifully.
Proofing Rack Capacity and Airflow
Efficient design is critical for high-volume bakeries.
Capacity: Choose proofers with multiple racks for large-scale production.
Tip: Avoid overloading trays to allow proper airflow and even proofing.
Proofing Workflow with Mixers, Slicers, and Ovens
To streamline your bakery operations, consider pairing your proofer with other critical machines.
Proofing Workflow with Spiral Mixers
Spiral mixers are built for high-capacity dough mixing, ensuring consistent hydration and gluten development.
Ideal For: Artisan breads and high-hydration doughs.
Pro Tip: Choose a mixer with dual-speed settings to fine-tune the kneading process.
Proofing Workflow with Planetary Mixers
Planetary mixers are versatile, handling everything from cake batters to buttercream.
Best Use: Smaller batches, pastries, and enriched doughs.
Benefit: Multi-speed controls for whipping, mixing, and kneading.
Proofing Workflow with Bread Slicers
Automated slicers save time and provide precise, uniform slices, essential for wholesale bakeries.
Feature to Look For: Adjustable blade thickness for customisable slice sizes.
Proofing Workflow with Deck and Rack Ovens
Quality ovens ensure even heat distribution, essential for producing consistent crusts and crumb textures.
Key Features: Independent temperature controls for each deck.
Pro Tip: Rack ovens are ideal for high-volume production, while deck ovens excel at artisanal loaves.
Proofing Operating Guide for Commercial Bakeries
Mastering your dough proofer’s settings can transform your baking process by ensuring consistent, high-quality results. Let’s break down how to get the most out of your equipment with practical examples and deeper insights.
Proofing Step 1: Preheat the Proofer
Before loading any dough, preheat the proofer to the required temperature and humidity levels based on your dough type.
Recommended Settings: Lean doughs like baguettes may require a temperature of 75°F (24°C) with 70% humidity, while enriched doughs like brioche benefit from higher humidity around 85%.
Preheat until the displayed temperature and humidity stabilize according to the equipment manual; actual time varies with cabinet size, load history, and room conditions.
Proofing Step 2: Load Trays for Airflow
Evenly distribute dough trays to ensure airflow and prevent uneven proofing.
Spacing: Follow the rack layout and clearance in the equipment manual, then confirm airflow with a full-load test; required spacing varies by tray and product.
Validation test: Run a full rack with marked tray positions, record readiness by rack level, and change tray spacing or loading only when the results show a repeatable difference.
Proofing Step 3: Monitor Dough Readiness
Although modern proofers regulate the environment, periodic checks can help you fine-tune your process.
Visual indicators: Many products expand noticeably, but doubling is not a universal endpoint. Use the recipe target, surface condition, and a gentle indentation test together.
Use a timer to standardize checks, not to replace observation. Record the elapsed time and inspect before the expected endpoint because dough temperature and yeast activity can shift the schedule.
Proofing Step 4: Adjust for Special Recipes
Refrigerated dough proofer guide
Example: High-hydration doughs like ciabatta may need longer proofing times but lower temperatures to prevent over-expansion.
For laminated or specialty doughs, use the formula and equipment manual to select humidity; trial the setting because excessive warmth or moisture can damage layers.
Proofing Step 5: Avoid Common Errors
Over-proofing: Leads to weak dough that collapses during baking.
Under-proofing: Results in dense, chewy loaves that don’t rise fully.
Crowding Trays: Prevents even airflow, causing some doughs to rise unevenly.
Document dough temperature, setpoints, rack load, elapsed time, and readiness checks. Use those records to build a repeatable bread dough proofing SOP for each product.
Proofing Cleaning and Preventive Maintenance
Proper maintenance is essential for ensuring the longevity and performance of your bakery equipment. Consistent care not only helps avoid costly repairs but also guarantees optimal proofing results day after day.
Proofing Daily Maintenance
Cleaning: Isolate power and let the unit reach a safe condition before cleaning. Follow the manufacturer’s approved method for the cabinet, racks, trays, drains, and humidification components.
Check for Moisture Accumulation: Ensure that condensation does not pool inside the proofer, as excess moisture can lead to mold growth and corrosion.
Proofing Weekly Maintenance
Sensor check: Compare displayed readings with an appropriate reference instrument as directed by the manual. Calibration or electrical work should be completed by qualified personnel.
Inspect Door Seals: Check that the door gasket seals tightly to prevent air leakage, which can impact humidity levels.
Proofing Monthly Maintenance
Lubrication: Use only manufacturer-approved lubricant at specified service points and intervals; keep lubricant away from food-contact areas unless explicitly permitted.
Clean the Ventilation System: Dust and debris can clog vents, reducing airflow and efficiency. Use a vacuum or soft brush to clean these areas.
Examine Shelving Stability: Verify that racks and shelving units are secure and level to prevent tipping or uneven proofing.
Proofing Seasonal and Annual Service
Professional Servicing: Schedule an annual checkup with a certified technician to ensure that all mechanical and electronic components are functioning correctly.
Replace Worn Parts: Look out for signs of wear on critical components such as heating elements and thermostats. Proactively replace these parts to avoid unexpected downtime.
Pro Tip: Keep a maintenance log to track cleaning routines, repairs, and service dates. This helps you stay proactive and maintain the highest performance from your equipment.
Proofing Time, Readiness Tests, and Troubleshooting
Proofing bread is a delicate process that requires attention to detail. Knowing what to look for during the proofing stage can help you achieve optimal results.
Proofing Process Steps
Preheat and Prepare: Ensure the proofer is set to the correct temperature and humidity for the dough type.
Place Dough Correctly: Distribute dough evenly across trays, leaving enough space for it to rise.
Set Timers: Different dough types require different proofing times. For example:
Lean dough planning range: A 30–60-minute trial at about 75°F (24°C) may be a starting point, but validate against dough temperature, formula, and readiness.
Enriched dough planning range: Some formulas may need 1–2 hours and controlled humidity; use the recipe and readiness checks rather than time alone.
Proofing Readiness Indicators
Size increase: Use the expansion target defined for the product; not every bread should double before baking.
Surface Texture: A properly proofed dough will have a smooth, elastic surface.
Bounce Test: Gently press your finger into the dough. If it springs back slowly, it’s ready.
Proofing Problems and Corrections
Under-proofing: If the dough doesn’t rise enough, it may be too cold or the yeast may be inactive.
Over-proofing: Dough that rises too much may deflate in the oven. Reduce proofing time or adjust humidity if needed.
Monitor these signs together, record the result, and adjust one variable at a time to improve repeatability.
Proofing Equipment Quotation Checklist
Evaluate Yuemen and other suppliers against documented capacity, utilities, controls, materials, spare parts, warranty, commissioning, and after-sales requirements.
Proofing Supplier Evaluation Questions
Quotation clarity: Request an itemized quotation that separates equipment, accessories, packaging, freight, installation, commissioning, and optional parts.
Durability evidence: Ask for model-specific materials, component brands, duty cycle, warranty terms, and maintenance requirements.
Line compatibility: Confirm tray and rack sizes, batch timing, utilities, and capacity balance across mixers, proofers, slicers, and ovens.
Proofing Solutions by Bakery Size
For Artisan Bakeries: Compact proofers and mixers for small-batch baking.
For Industrial Bakeries: High-capacity machines for large-scale production.
To compare a bread dough proofer, send your product list, dough weights, tray and rack dimensions, room conditions, utility supply, target output, and required service support. Ask for a model-specific quotation and a witnessed test using representative dough.